Update: This is old and you should now use Security Defaults or conditional access if you have it. See https://cloudrun.co.uk/office365/increase-your-office-365-security-for-free-with-security-defaults-for-admins/
Multi-factor authentication is essential nowadays in order to protect the security of your online accounts. We always recommend that MFA is enabled for all of our Office 365 customers. Once this has been enabled, users can set this up as follows.
Note: if you do not have a smartphone or don’t want to install the app, skip the first step and use text (SMS) notification instead. The app is more secure however.
-
- Once you have been informed that MFA has been enabled for your account, install the Install the Microsoft Authenticator app on your phone from your app store.
- Then, go to https://www.office.com/
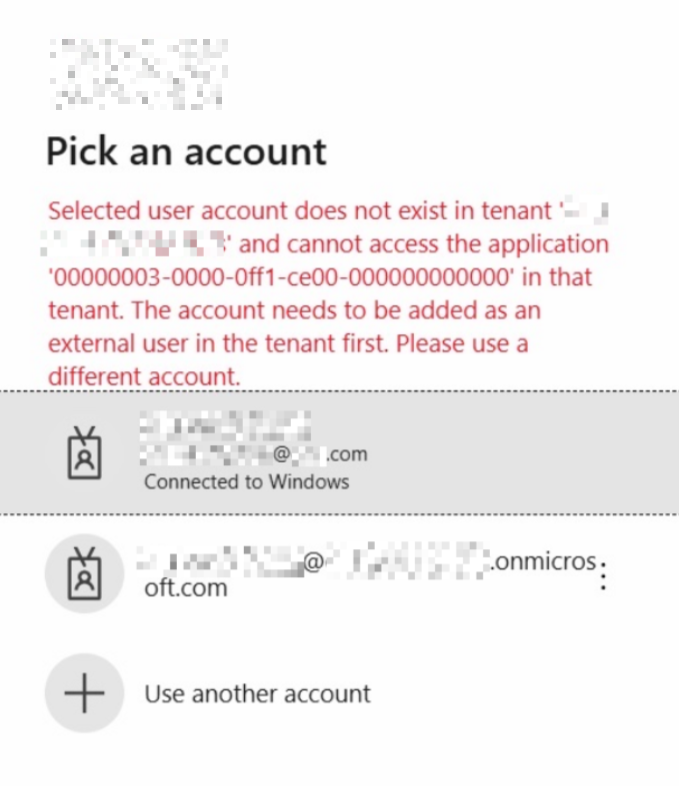
- Log in and you should receive a prompt that more information is required. Click Next.
- Choose Mobile app, then Receive notifications for verification.
- Click Set Up, and then follow the instructions to set up the app (open the Microsoft Authenticator app and click the +, then scan the barcode).
- Add your mobile phone number as the primary Authentication phone when prompted. This will be used as a backup in case you change phones.
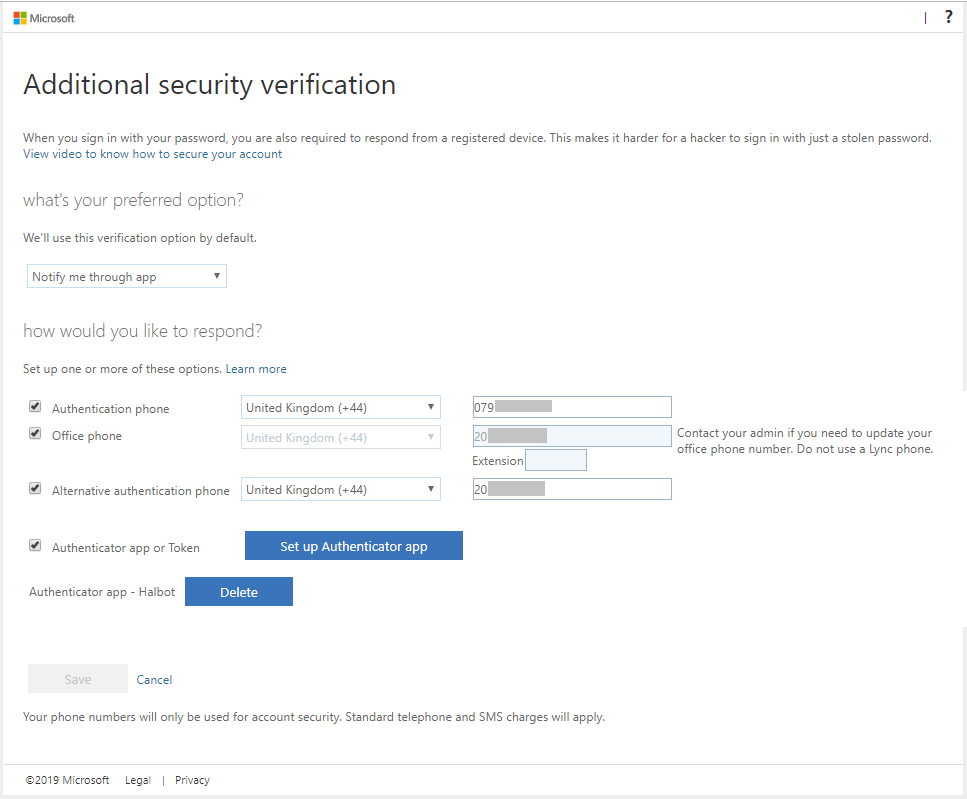
- Once done, click https://aka.ms/MFASetup to return to the screen and also add Office phone and Alternative authentication phone (e.g. home). You don’t need to be at those locations to enable these options, but this is a good backup for when your mobile phone is not available.
Note: Using the link https://aka.ms/MFASetup will take you straight to the authentication page if you want to update the details later, or you can navigate there as follows:
- Log in to https://www.office.com/
- Click on your username in the top right, then My account
- Click Security & Privacy > Manage Security & Privacy
- Click Additional security verification, then Update your phone numbers used for account security.
Enterprise customers
For customers with internal servers and Active Directory, note that if you are unable to set your Office phone, it is probably synchronised from your on-premises Active Directory, and you will need an administrator to set this for you. In that case, users can update their Office phone number as follows, which will then sync to Azure AD within 30 minutes:
- Open Windows Explorer.
- Click Network in the bottom left, and press OK to the error message that pops up.
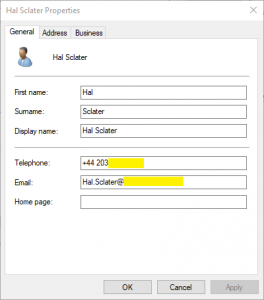
- Click Search Active Directory at the top.
- Find your user account, and enter your Office phone number DDI in the format +44 xxxxxxxx (for UK numbers). It is important to leave a space between the country code and your number.
Alternatively, you can create a shortcut to rundll32.exe dsquery,OpenQueryWindow