Here’s a concise guide on how to add or change your profile photo in Microsoft 365:
- Find a Suitable Photo:
- First, select a photo you’d like to use as your profile picture. Ensure it’s stored on your computer, OneDrive, or any accessible location. The photo should be smaller than 4 MB and can be in .png, .jpg, or .gif format.
- Sign In to Microsoft 365:
- Visit Microsoft365.com and sign in with your work or school account.
- Access Your Profile:
- In the upper right-hand corner of the page, you’ll see a circle displaying either your initials or an icon of a person. Click on this circle.
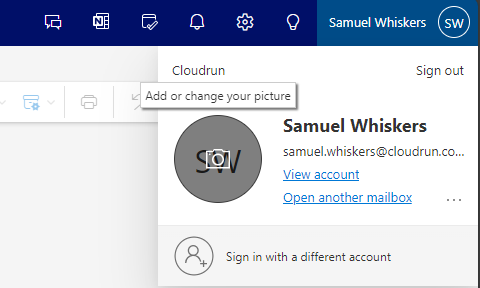
- Change Your Photo:
- A pop-up will appear. If you or your IT administrator have already added a profile photo, it will be visible in the circle.
- To add a new photo, click the circle again and select “Change photo.”
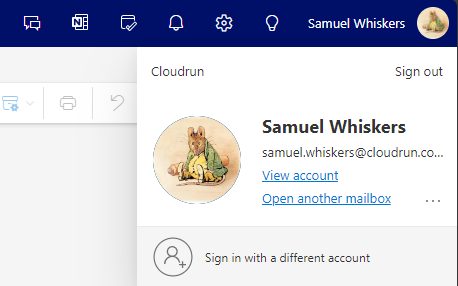
- Upload your chosen photo and apply it.
Admins: If you’re a Microsoft 365 admin, you can also add photos on behalf of users using the Microsoft 365 admin center or Microsoft Graph PowerShell. For detailed instructions, refer to the Change user profile photos documentation.
Your profile photo will appear wherever there’s a profile photo circle in Microsoft 365.
Note that you could also do this at https://delve.office.com/, however the Delve web app will be deprecated by Microsoft in December 2024.
Also see https://support.microsoft.com/en-us/office/add-your-profile-photo-to-microsoft-365-2eaf93fd-b3f1-43b9-9cdc-bdcd548435b7 which at the time of writing was out of date with the current user interface.