When users leave your organisation, you may want to keep their documents for a limited time, or permanently. If your users are fully online (i.e. you don’t have an on-premise Active Directory), then the process is easy and you are offered to give the data to another user for 30 days at the time of account deletion.
However, if you have on-premise Active Directory synced using AD Connect (what I call Hybrid AD), OneDrive will be deleted with no warning, and only retained for 30 days by default. This post describes how to retain OneDrive data in that scenario, using native or third party tools.
Increase the OneDrive retention for deleted users
Firstly, if you are just Azure AD or Hybrid AD, either way I would always suggest increasing the OneDrive retention as below so that the data will be available to for longer. This won’t cost you anything and potentially avoids issues when data is removed without warning.
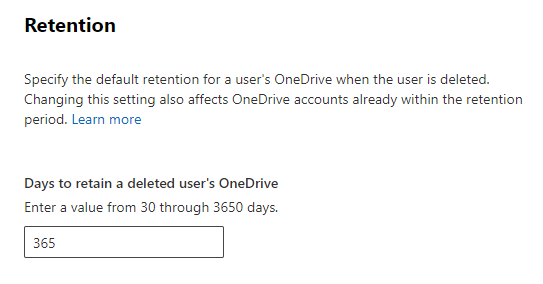
- Logon to SharePoint admin at https://admin.microsoft.com/sharepoint
- Click Settings > OneDrive > Retention
- Increase the OneDrive Retention setting from the default 30 days, up to a maximum of 3650 days to retain files a deleted user’s OneDrive box. I think 1 year is adequate.
Options for keeping OneDrive data
There are 3 options to consider:
- Delete the user. Use the bulit-in feature when deleting a user account to give someone access to the leavers data for 30 days. This doesn’t work well for Hybrid AD, so I would only recommend if users are cloud only.
- Grant access on the leaver’s OneDrive to the new user using a link (temporary, although, data could be copied out).
- Use 365 admin or PowerShell to grant permissions.
- Optionally the user could then copy or move the data to their own OneDrive.
- Permanent: Copy required OneDrive data from the leaver to the new user (permanent)
- Either do this for the user using a third-party tool if you have one.
- Or the user can do it themselves.
Option 1: Delete the user
For cloud only accounts (no on-premise Active Directory)
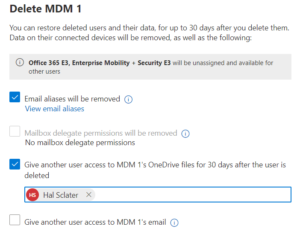
When you delete a user from the Active users page in the Microsoft 365 admin center, you can choose what you want to do with the user’s product licenses, email, and OneDrive. For more info, see Delete a user from your organization.
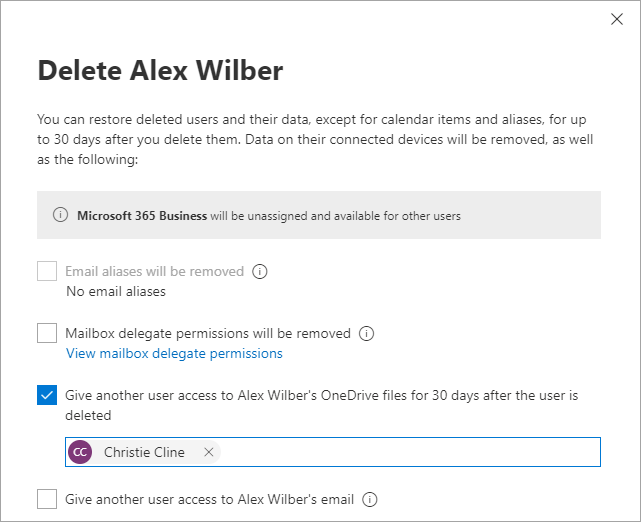
If you give another user access to the OneDrive, that user will have 30 days to access and download the files they want to keep, after which their access will be removed. (To change the retention time, see Set the OneDrive retention for deleted users.) They’ll receive an email with a link to these instructions for accessing the deleted user’s OneDrive: Copy files from another user’s OneDrive.
See https://docs.microsoft.com/en-us/onedrive/retention-and-deletion for more information.
For on-prem accounts
Wwith accounts synchronised from on-premise Active Directory, when the AD account is deleted the corresponding Azure AD account will also be deleted, and their OneDrive content will be removed by default 30 days after account deletion without any warning or opportunity to grant access to another user.
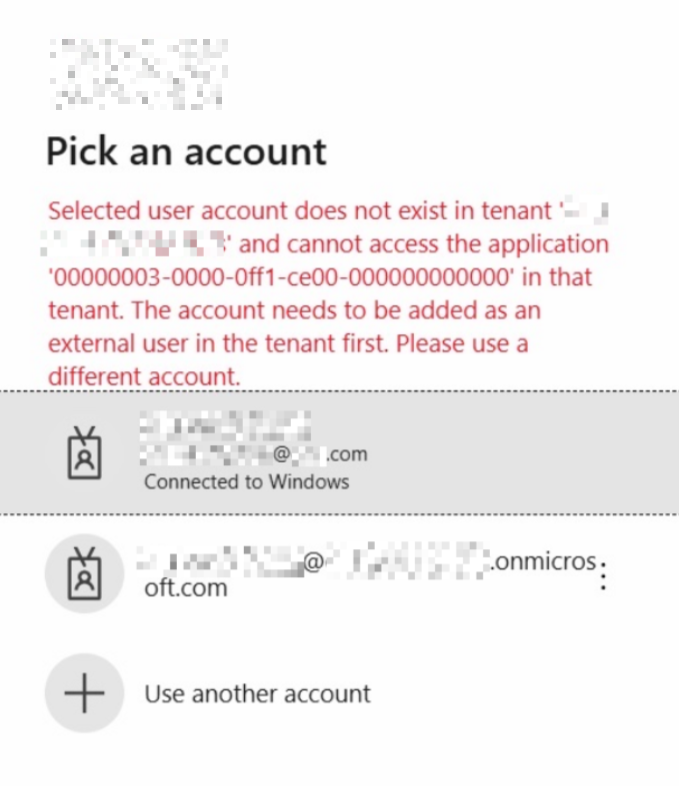
Attempting to delete the user in the 365 Admin Portal
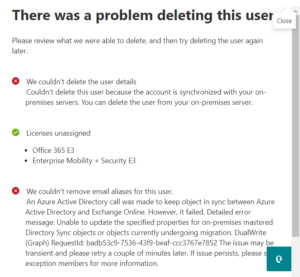
Since the accounts are synced from AD, you can’t delete the account in the 365 admin portal, however if you try it will ask you to grant OneDrive permissions for another user. Note that it will also attempt to unassign the licenses, but if you are using group based licensing this will have no effect.
I would not recommend this method, it is pretty messy, not obvious how to remove the access, and there are better and easier options for on-prem accounts.
If you try and delete a synced user account, it will fail but OneDrive permissions will be granted to another user:
- Now, provide the target user the path to the OneDrive of the source user e.g. https://tenant-my.sharepoint.com/personal/first_last_domain_com/
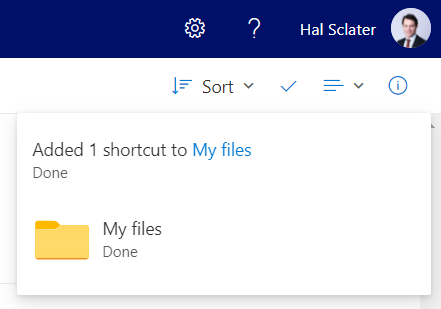
The user could then add a shortcut:
And rename it, otherwise it’s just called ‘My Files’.
Option 2: Granting access to the leaver’s OneDrive using a link (temporary)
This process can be used to grant access to the leaver’s OneDrive for up to 1 year.
Using 365 admin
- Logon to admin.microsoft.com
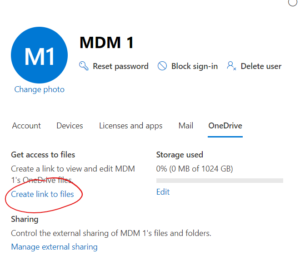
- Open the leaver’s user properties, click on OneDrive, and click Create link to files. This will assign the currently logged in admin account permissions to the OneDrive .
- Click on the link shown to open the user’s OneDrive. You should see the user’s files.
- Click Settings cog > OneDrive Settings
- Click More Settings > Site collection administrators
- Add the other user. Note that you could also remove users here later if required.
At this point 3 people will have access, the leaver, your admin, and the normal user.
- Go back to admin.microsoft.com and copy the URL for the leaver’s OneDrive
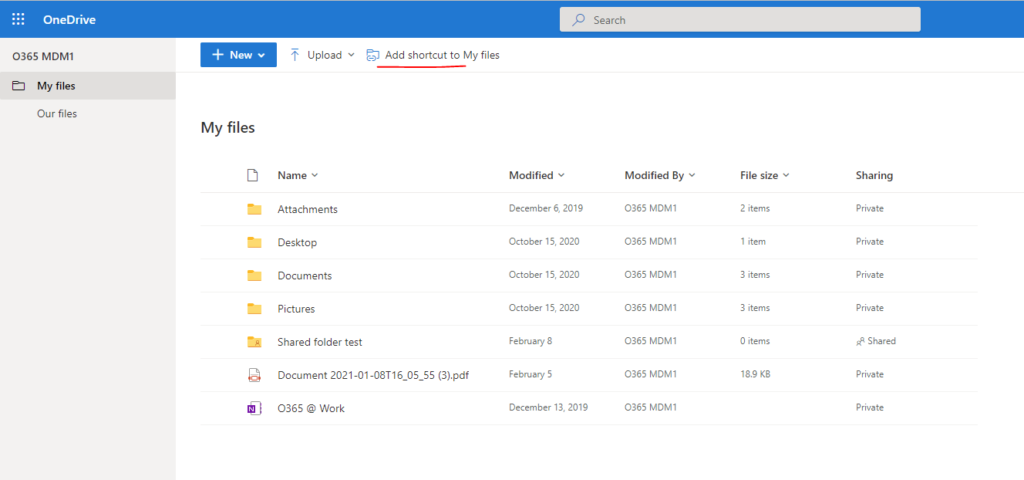
- Send this to the user, they should click on the link, then click Add shortcut to my files at the top.
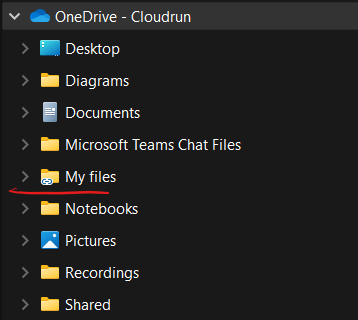
The shortcut will then appear online as well as in File Explorer:

Note: sometimes the shortcut may just be called ‘My files’ in which case the user should rename it so that it is obvious whose data it is.
- Inform the user that the files will only be available for 1 year, if they need access for longer, they should copy the files they need to their own OneDrive folders.
- They can remove the shortcut any time by right clicking and choosing Remove shortcut.
Using PowerShell
You can also use PowerShell to quickly add permissions to a OneDrive account:
	# This will add onedrive admin for a single site.
	$userURL = " https://tenant-my.sharepoint.com/personal/user_domain_com/"
	$admin = "[email protected]"
	."$PSScriptRoot\..\Connections\ConnectSPOService.ps1"
	write-host "Adding $admin to $userURL" -ForegroundColor Blue
	Set-SPOUser -Site $userURL -LoginName $admin -IsSiteCollectionAdmin $true

	ConnectSPOService.ps1:
	write-host "Connecting to SharePoint (SPOService)..." -ForegroundColor Yellow
	$sharepointadmin = " https://tenant-admin.sharepoint.com"
	try {
	    $var = Get-SPOGeoStorageQuota # Just using this as it is quick
	}
	catch {
	    Write-Host "Not connected, authenticate in other window"; Connect-SPOService -Url $sharepointadmin
}
Option 3: Copying OneDrive content (permanent)
It’s also possible to copy the content from the leaver’s OneDrive to another user’s OneDrive, will be a more permanent solution than granting access.
Check the size of the source OneDrive folder
You don’t want to copy one user’s OneDrive into another if it won’t fit, so first use the following PowerShell to check the size before copying:
	Connect-SPOService -Url " https://tenant-admin.sharepoint.com"

	Get-SPOSite -IncludePersonalSite $True -Limit All -Filter "Url -like '-my.sharepoint.com/personal/first_last_domain_com'" | Select Owner, Title, URL, StorageQuota, StorageUsageCurrent
The result looks as follows:
Owner : [email protected]
Title : Hal Sclater
Url : https://tenant-my.sharepoint.com/personal/hal_sclater_domain_com
StorageQuota : 1048576
StorageUsageCurrent : 4608
Copy data using a commercial tool
The benefit of this is that no user action is required for this method.
A commercial tool e.g. Sharegate can copy data from one location to another:
- First, grant your admin account permission to both the source and destination user’s OneDrive using PowerShell
- Create a folder for the source user in the root of the destination user’s OneDrive, don’t go into the Documents folder (which is the redirected Windows Documents folder).
- Copy the data using your migration tool
Note the source and destination URLs will look like e.g. for [email protected]:
https://tenant-my.sharepoint.com/personal/user_domain_com
Copy data using OneDrive
The benefit of this method is that no PowerShell or other tools are required, however the user needs to follow some manual steps to gain access to the data.
- Grant the new user permissions on the leaver’s OneDrive using admin.microsoft.com or PowerShell
- Instruct the destination user to open the OneDrive using the OneDrive link as above
- Select the folder and click ‘Move to’.
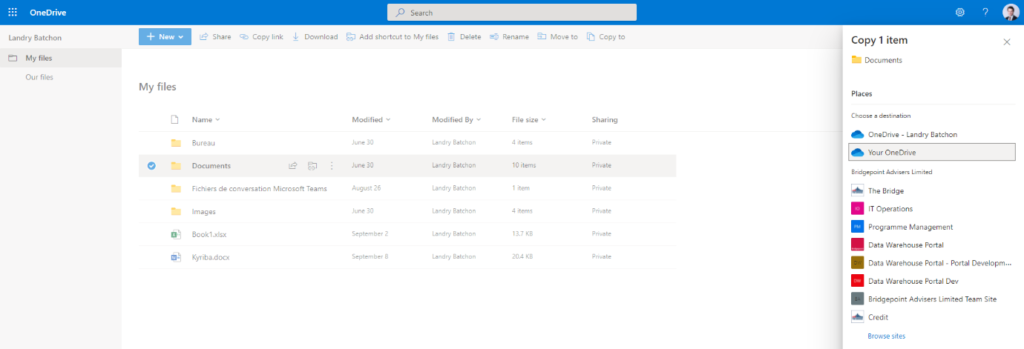
Note: you could also use this method to copy the data into a Team or SharePoint site that you have access to.