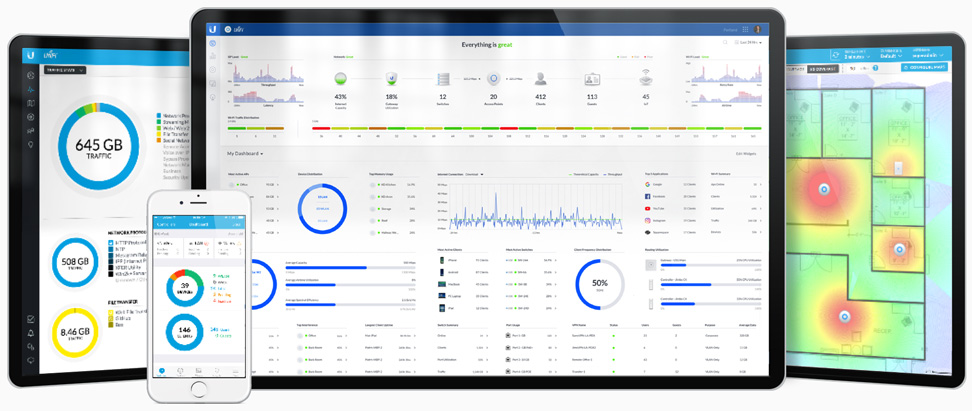
A short guide on how to configure Unifi WPA Enterprise with Radius on Windows Server NPS. This is for Windows 2012 or 2016. Unifi wireless is a great solution for mid-sized businesses, with Enterprise-class features at an affordable cost. We typically use the controller on a Linux VM which is free.
Prerequisites
This guide assumes that you already have your access points online, and your controller is configured at a basic level. You will also need a Windows Server you can use for RADIUS services.
Your Access Points (APs) must have DHCP reserved or static IP addresses.
NPS Configuration
Install NPS
- Add Roles and Features on your Windows server that will host RADIUS
- Add Network Policy and Access Services role

Configure NPS
Add Clients
- Open run, type nps.msc
- Create a new Shared Secrets Template under Templates anagement/Shared Secrets. Call it UniFi Secret Template.
- On the left-hand sidebar expand ‘RADIUS Clients and Servers’.
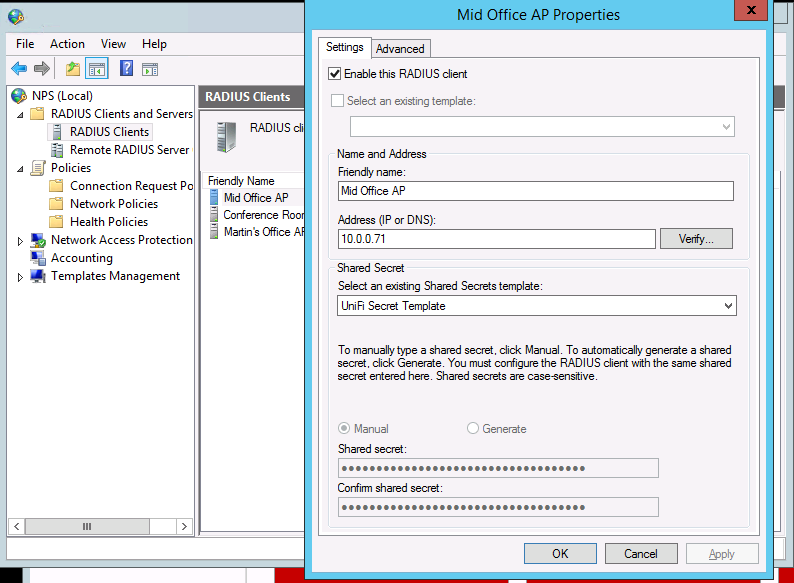
- Right-click ‘RADIUS Clients’ and select “New”.
- Enter the Display Name and IP address of the device that will be authenticating against your RADIUS server, in this case 10.0.0.71, give it a friendly name.
- Choose the UniFi Secret Template.
- Click ‘OK’.
- Repeat this for the other access points.
Now that we’ve defined our client the device is now able to actually talk to RADIUS and perform authentication. However, before users can authenticate, we also have to create a policy to associate with users.
User Policy
- Create a new group in AD called WiFi Users
- On the left-hand sidebar expand ‘Policies’.
- Right-click ‘Network Policies’ and select “New”.
- Type in a name for this connection policy: UniFi and click ‘Next’.
- In ‘Conditions’ click ‘Add…’
- Select the “User Groups” option and click ‘Add…’.
- In the ‘User Groups’ popup click ‘Add Group’ and enter a group which will be authorized corporate WiFi users.
- Click ‘OK’, ‘Next’. Ensure “Access granted” is selected and click ‘Next’.
- Remove the Less secure methods and add PEAP and EAP-MSCHAP v2

- No constraints are necessary. Click ‘Next’.
- No specific policy settings are necessary. Click ‘Next’.
- Review the final options and click ‘Finish’.
UnFi Configuration
- Click Profiles and Create New Radius Profile
- Called the profile SERVER_RADIUS
- Don’t choose a VLAN unless required
- Enter the NPS server IP address
- Paste in the shared key and save

- Now go back and edit OfficeWiFi3 network
- Choose WPA Enterprise
- Select the RADIUS profile and Save

Configure remaining APs
- Connect remaining APs to the network
- Adopt the APs and give them a name
- Reserve their addresses in DHCP, and then add as RADIUS clients with the same settings and secret.