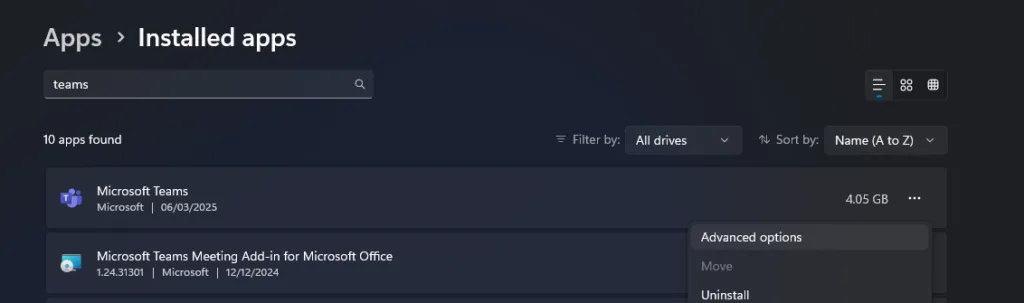
Microsoft Teams is a powerful collaboration tool, but like any application, it can sometimes run into issues. One common solution to various Teams problems is to clear the client cache. This can resolve issues related to app performance, loading errors, and login troubles.
Clearing the cache can help with:
Before you start, ensure that Microsoft Teams is not running.
You need to access the directory where Teams stores its cache files. The path depends on which Teams client you are running — this is the mistake most guides make, because the old path still exists on disk after you upgrade, but clearing it changes nothing.
Win + R to open the Run dialog box.| Client | Cache path |
|---|---|
| New Teams (default from 2024, work/school) | %LOCALAPPDATA%\Packages\MSTeams_8wekyb3d8bbwe\LocalCache\Microsoft\MSTeams |
| New Teams (standalone installer) | %LOCALAPPDATA%\Microsoft\Teams |
| Classic Teams | %APPDATA%\Microsoft\Teams |
Not sure which you have? If Teams shows a New Teams toggle in Settings, or the window looks different from the 2023 screenshots, you are on the new client.
In this folder, select all the subfolders and delete them. Windows will let you delete some files while Teams is still closing — ignore any “file in use” prompts and clear the rest after a reboot.
With PowerShell (run as your own account, not as administrator):
# Make sure Teams is closed first
Stop-Process -Name ms-teams -Force -ErrorAction SilentlyContinue

# New Teams
Remove-Item "$env:LOCALAPPDATA\Packages\MSTeams_8wekyb3d8bbwe\LocalCache\Microsoft\MSTeams" -Recurse -Force -ErrorAction SilentlyContinue

# Classic Teams
Remove-Item "$env:APPDATA\Microsoft\Teams" -Recurse -Force -ErrorAction SilentlyContinueOnce you’ve deleted the cache files, restart Microsoft Teams.
If you still experience issues after clearing the cache:
ms-teams.exe and Teams.exe process in Task Manager, including any running for other user profiles.Clearing the Microsoft Teams cache is a quick and easy way to resolve common issues and improve performance. Give it a try next time you run into any problems with Teams.