
When users leave your organisation, you may want to keep their documents for a limited time, or permanently. If your users are fully online (i.e. you don’t have an on-premise Active Directory), then the process is easy and you are offered to give the data to another user for 30 days at the time of account deletion.
However, if you have on-premise Active Directory synced using AD Connect (Hybrid AD), OneDrive will be deleted with no warning, and only retained for 30 days by default. This post describes how to retain OneDrive data in that scenario.
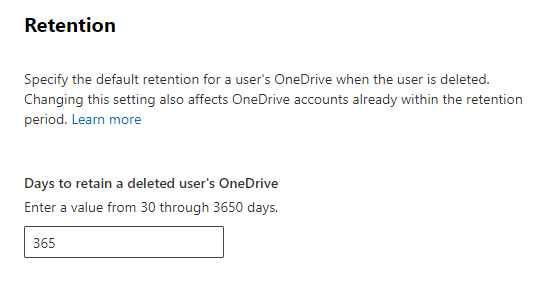
Log on to the SharePoint admin center, go to Settings > OneDrive > Retention and increase the retention setting from the default 30 days up to a maximum of 3650 days. We recommend 1 year.
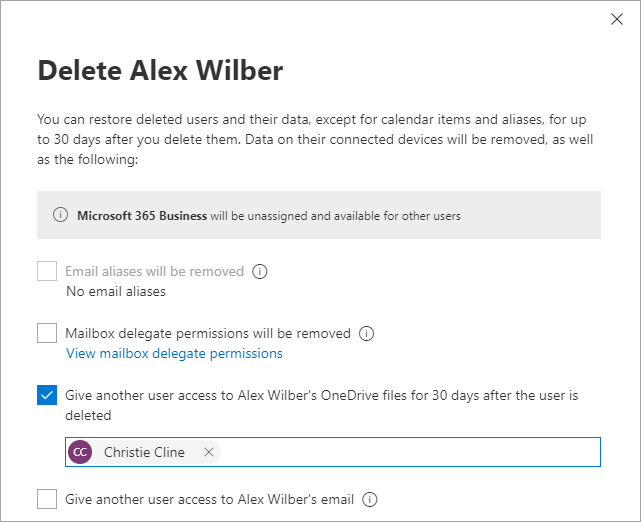
When you delete a user from the Microsoft 365 admin center, you can choose what to do with their product licenses, email, and OneDrive. If you give another user access, they’ll have 30 days to access and download the files.
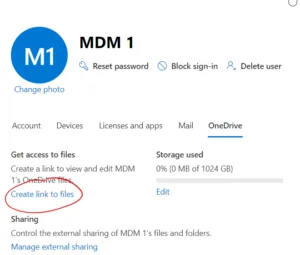
For on-prem synced accounts, this doesn’t work cleanly. The account deletion will fail but OneDrive permissions can still be granted.
$userURL = "https://tenant-my.sharepoint.com/personal/user_domain_com/"
$admin = "admin@domain.com"
Connect-SPOService -Url "https://tenant-admin.sharepoint.com"
Set-SPOUser -Site $userURL -LoginName $admin -IsSiteCollectionAdmin $trueConnect-SPOService -Url "https://tenant-admin.sharepoint.com"
Get-SPOSite -IncludePersonalSite $True -Limit All -Filter "Url -like '-my.sharepoint.com/personal/first_last_domain_com'" | Select Owner, Title, URL, StorageQuota, StorageUsageCurrentA tool like Sharegate can copy data without user action. First grant your admin account access to both source and destination OneDrive, then use the tool to copy.
Grant the new user permissions on the leaver’s OneDrive, then instruct them to open the OneDrive link and use Move to to copy the data.
Once you have the leaver’s device back, their old work account often stays signed in to OneDrive in File Explorer long after the account itself is gone. See how to remove old OneDrive accounts in Windows to clear those stale entries.

