Combined SSPR and MFRA registration makes things simpler for new internal and external (Guest) users alike. Whilst all new Azure AD tenants created after August 15th 2020 will be automatically enabled for combined registration, this currently needs to be turned on manually for older tenants. There are several other settings which need to be separately enabled and can also make registration more secure and with more options, so this post details our recommended configuration for all tenants.
Enable SSPR
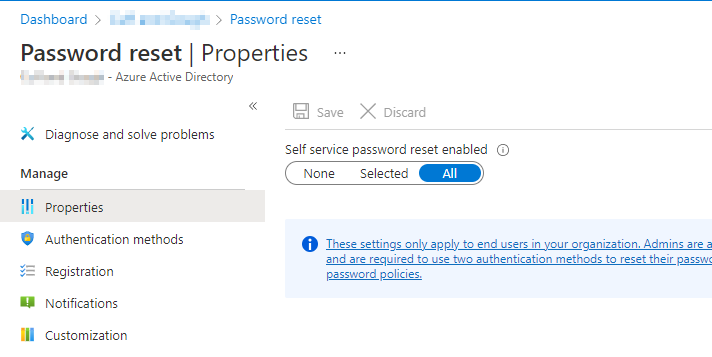
Enable SSPR:
- Navigate to portal.azure.com, AAD > Password Reset > All
Enable Combined SSPR
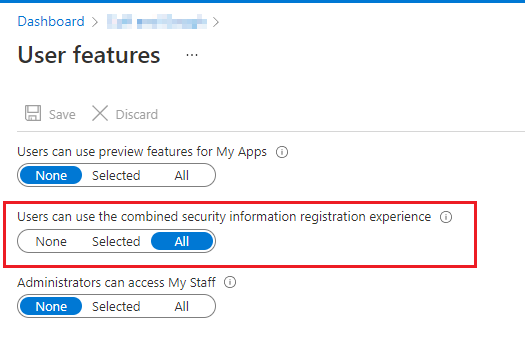
Now enable combined SSPR:
AAD > User Settings > scroll to bottom > Manage user feature settings > Users can use the combined security information registration experience > All
Choose authentication methods
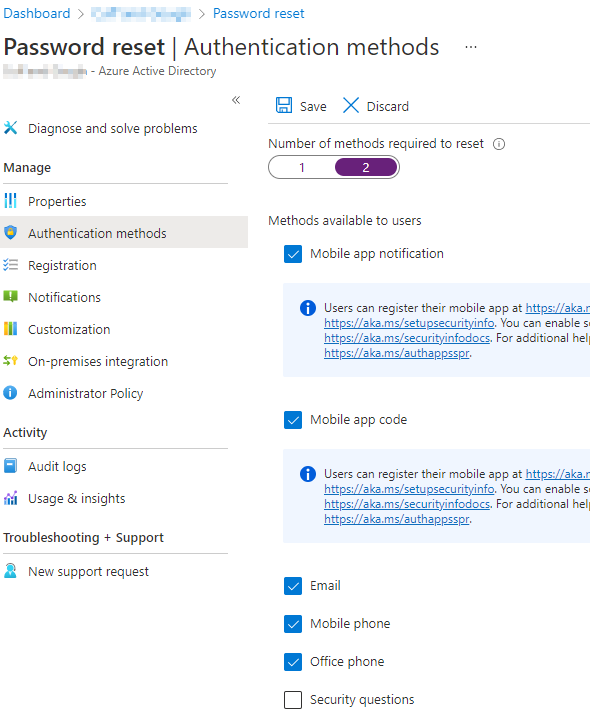
Now in Password reset > Authentication methods: Choose require options, we recommend all options apart from security questions, and choose 2 methods at the top. This will also affect the number of options that users are required to set up when enrolling for MFA (for internal users only, Guests will only need to add one), it’s always good to have at least the app and a phone number in case they lose access to the app.
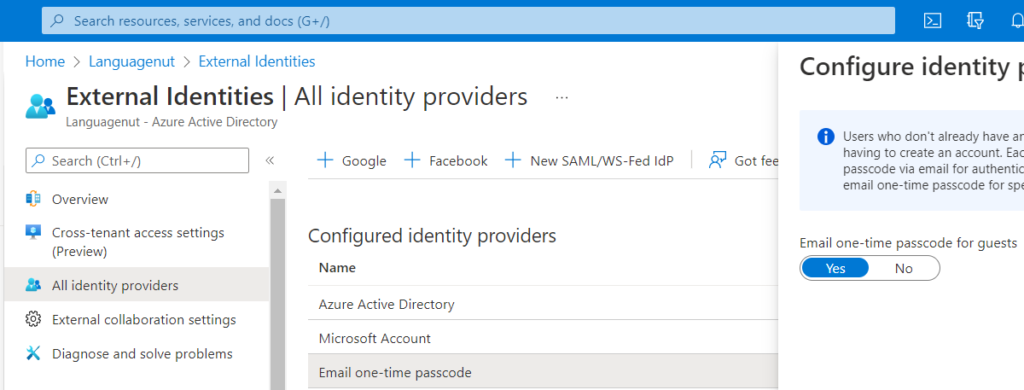
Enable email one-time passcode
Also go into External Identities – All Identity providers > Email one-time passcode for guests
Cross-tenant access settings
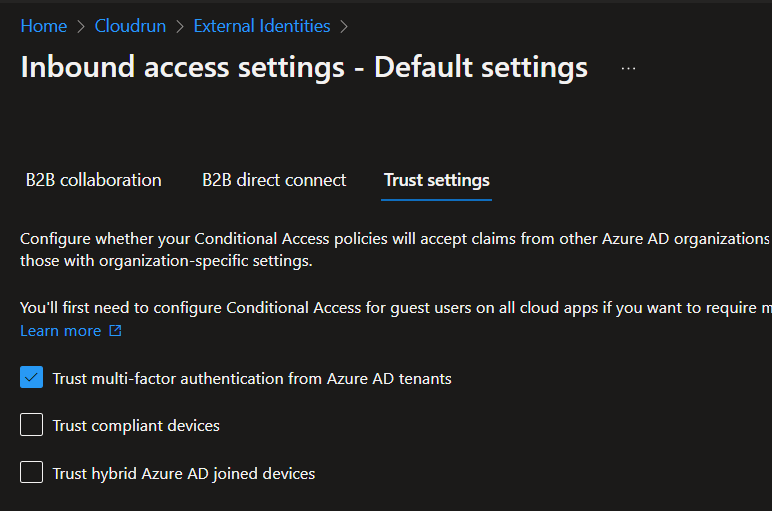
Finally, if you require external users to use MFA, you may want to enable this setting, which will trust their own MFA and avoid potential double MFA issues.
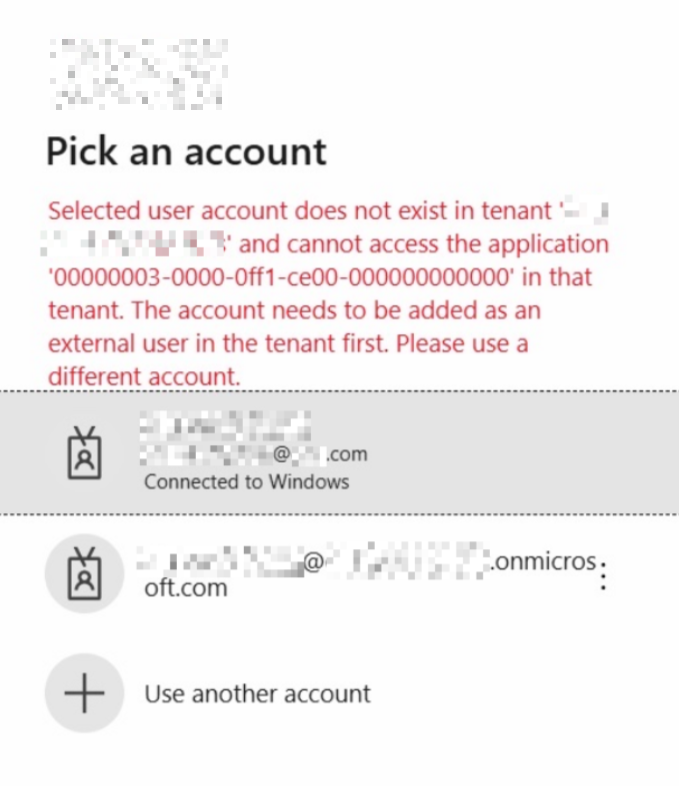
Depending on your security requirements, you can either add individual tenants to trust, or change the default settings to trust anyone who has used MFA. This will include personal (Microsoft) accounts. Note that we have seen issues when enabling the default trust settings for MFA, whereby Microsoft account users (not Azure AD) get into an infinite loop when logging in, which tells them to add MFA information repeatedly, even when they have already signed up. It is therefore safer to add individual tenants.
To change the default trust settings:
AAD > External Identities > Cross-tenant access settings > Default settings > Edit inbound > Trust settings > Trust MFA from Azure AD tenants:
The process is similar for adding tenants.
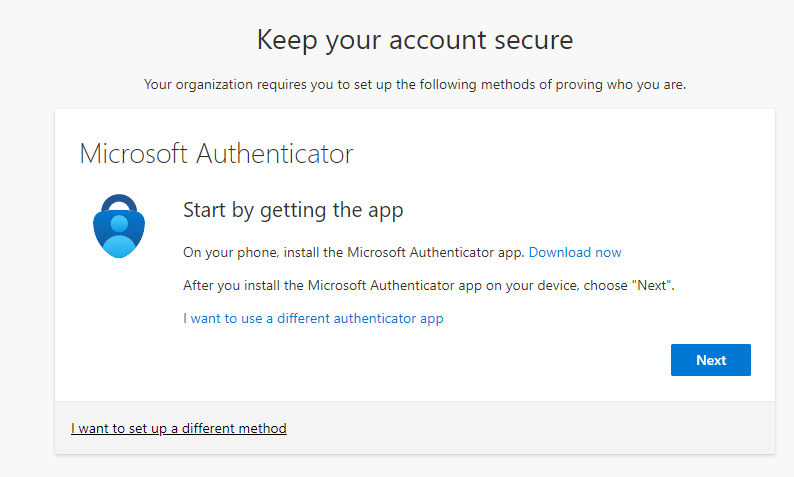
User experience
This then gives you the new MFA setup process screens, the same as if you enable security defaults, and also applies to Guests, unless the Guest already has MFA configured in their own tenant.
More information
For more information see the following links:
https://docs.microsoft.com/en-us/azure/active-directory/external-identities/b2b-fundamentals